DIY Dehydrated Food: A Backcountry Food Philosophy


Justin Hunold
06/13/2025
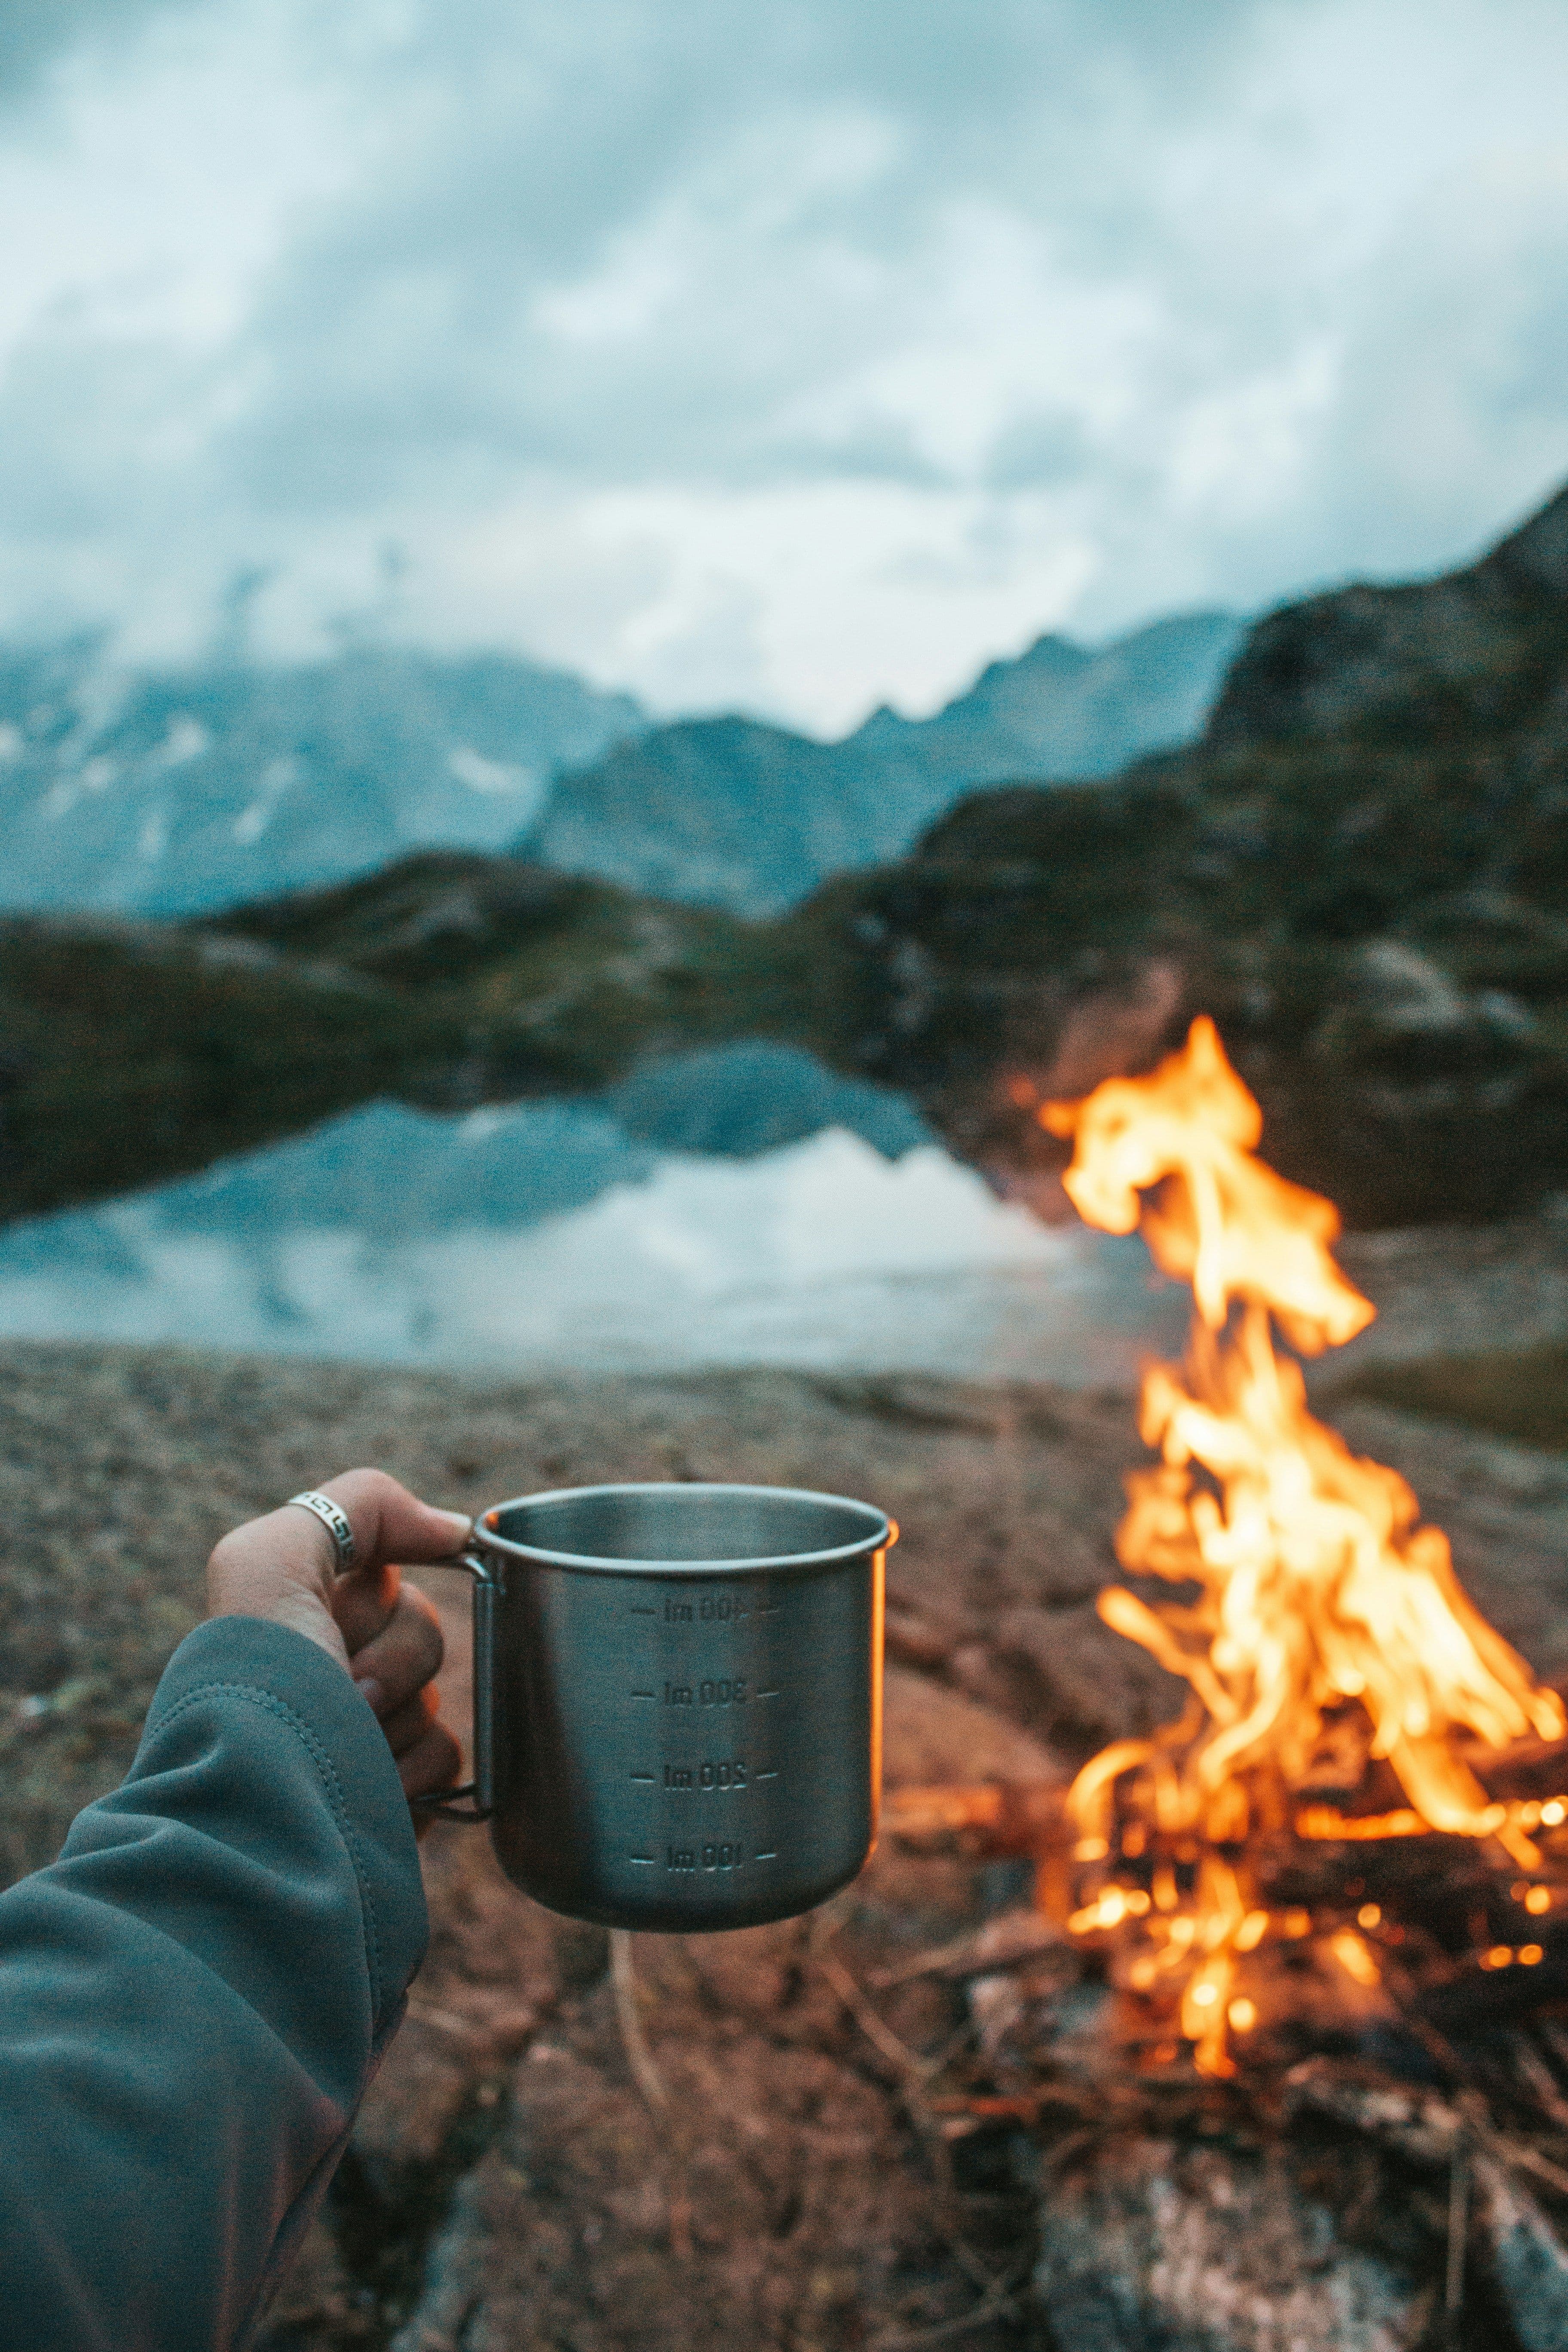
There’s something satisfying about breaking camp at dawn and trusting your own food plan to fuel a long day in the field. Dehydrated meals aren’t just convenience—they’re forethought, resourcefulness, and self-reliance. They’re lean, light, and carry the flavor of home. Or well—something better.
Gear You’ll Need: Dehydration Station 101
Before you ever pack a meal into your ruck, you’ve got to build your base camp in the kitchen. Think of this like setting up your elk camp—it needs to be efficient, organized, and dialed.
When I first started making my own dehydrated meals, I made the mistake of thinking I could wing it with a dull knife and an oven cracked open. Didn’t take long to figure out there’s a reason good gear matters. Here’s what I use now—and what I’d recommend to anyone who wants to eat right in the backcountry.
Dehydrator
Your workhorse. Look for one with 5–10 trays and adjustable temps. Nesco and Excalibur models hold up over time. Don’t use the oven—it’s inconsistent, clunky, and overheats most food.
Sharp Knives & Mandoline
You need clean, uniform slices. A mandoline gets your sweet potatoes, peppers, and apples down to an even ⅛″ every time. Consistency equals even drying—and better rehydration.
Parchment or Silicone Sheets
Sticky foods like tomato paste or fruit purée will turn your trays into a glue trap. These sheets make cleanup a breeze and let you dry sauces, stews, or scrambled eggs into brittle, packable layers.
Vacuum Sealer (or Zip-Tops + O₂ Absorbers)
This is your preservation system. A vacuum sealer removes air and locks in freshness. For shorter trips, heavy-duty zip-tops with oxygen absorbers can work in a pinch. But for year-round shelf stability? Seal it tight.
Scale & Measuring Cups
Don’t eyeball it. If you’re mixing meals to exact macros—or trying to build 700-calorie dinners for high-altitude burns—use a digital scale. It also helps when dialing in portion sizes for long hauls.
Airtight Containers or Mylar Bags
Mylar bags lined with foil are bombproof for long-term storage. For short-term, mason jars or airtight tubs in a cool basement keep your dried goods shelf-ready.
Once you have your setup, clean it up and keep it that way. I treat my dehydrator and sealer like a rifle—oiled, organized, and ready for action.
Dehydrating Basics: Learn the Method, Not Just the Recipe
Every good camp cook knows it’s not just what you pack—it’s how you prep. Dehydration is an art and a science. Here’s the baseline.
Step-by-Step:
- Slice evenly: Aim for ⅛″–¼″ thickness. Uneven cuts dry at different rates and create hotspots.
- Blanch vegetables: Steam hardy greens, carrots, or broccoli for 1–2 minutes to kill enzymes that cause spoilage.
- Pre-cook meats & beans: Fully cook everything. Dehydration doesn’t kill bacteria—cooking does.
- Lay flat on trays: No overlaps. Let the air flow. Use mesh liners or sheets for liquid-heavy items.
- Set your temps:
- Veggies: 130–135°F
- Meats: 145°F
- Starches: 135°F Drying takes 4–16 hours depending on water content.
- Condition your food: Once dried, store in glass jars for 5–7 days. Shake daily. If you see condensation—redry it.
- Package airtight: Vacuum seal or Mylar with oxygen absorbers. This step locks in shelf life.
- Label everything: Meal name + date + rehydration ratio if needed.
This isn’t overkill. It’s how you avoid moldy meals or surprise gut-bombs when you’re 15 miles from a trailhead.
Are DIY Dehydrated Meals Actually Healthy?
Absolutely—especially compared to sodium bombs in commercial freeze-dried pouches. With your own setup, you control everything: salt, fat, sugar, preservatives. Use real veggies. Add leafy greens. Incorporate healthy fats (like olive oil powder or dried avocado if needed). Boost flavor with herbs and spices—not chemicals.
When done right, a dehydrated meal can deliver more nutrition per ounce than almost anything in your pack. And it tastes like something you’d actually want to eat—because you made it.
5 Trail-Tested DIY Dehydrated Meals (with Recipes)
These aren’t your average freeze-dried pouches. These are homemade, fuel-packed meals made from real ingredients and time spent at your stove. Whether you’re glassing ridgelines at dawn or cooking by headlamp near a river bend, these meals bring the comfort of home with none of the bulk.
Beef & Wild Rice Stew
Hearty, iron-rich, and ready to refuel a mountain-worn hunter.
This stew eats like a backcountry pot roast. Wild rice gives it chew and fiber, while carrots, onions, and celery bring a deep broth flavor when rehydrated. Perfect after a long hike or a cold morning sit.
DIY Instructions:
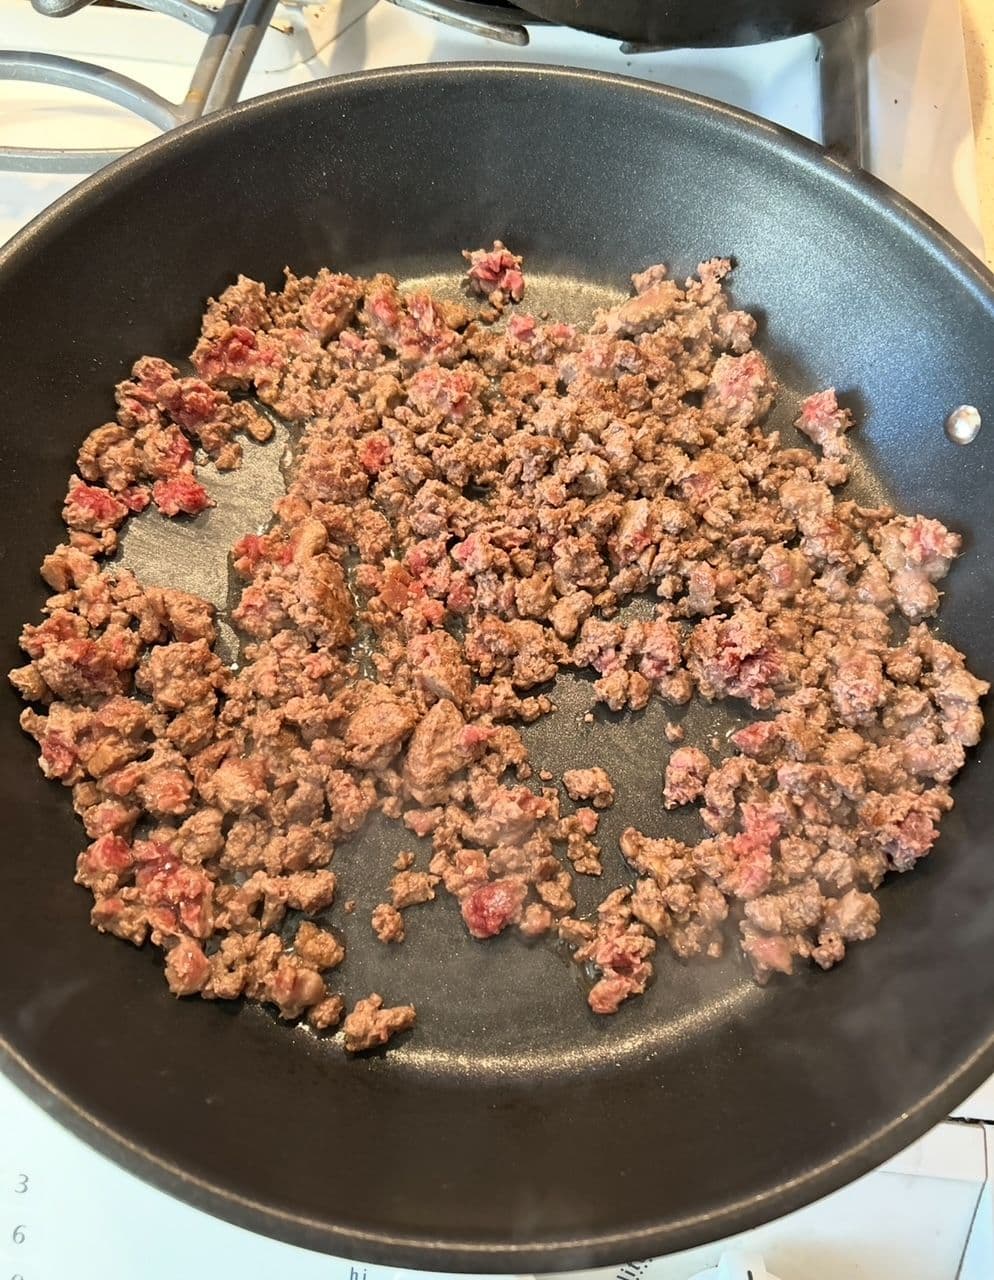
- Brown and drain lean ground beef (rinsed to remove fat).
- Cook wild rice until soft.
- Blanch diced carrots, onions, and celery for 2–3 minutes.
- Dehydrate all ingredients at 135°F until completely dry.
- Mix equal parts and add 1 tsp beef broth powder per cup.
- Vacuum seal or store in Mylar.
- Rehydrate with boiling water (1.5:1 water:meal), steep 10–15 minutes.
Chicken Chili Mac
Protein-heavy and packed with Tex-Mex kick, this is a hunter’s comfort food.
Chili mac is one of those meals that fills the soul. With shredded chicken, beans, pasta, and tomato, it delivers warmth and calories fast. Make it spicy or mild—it holds up in elk camp or turkey woods.
DIY Instructions:
- Fully cook and shred chicken.
- Cook elbow macaroni until just tender.
- Dice and dehydrate tomatoes (or drain and dry canned pulp).
- Cook and dry kidney beans; chop and dry onion.
- Dehydrate all separately, combine with ½ tsp chili powder and cumin per serving.
- Package dry. Rehydrate with hot water and cover for 10–12 minutes.
Three-Bean Burrito Bowl
A meatless option with serious staying power, made for mid-day field meals.
This mix of pinto, black, and kidney beans with corn, peppers, and rice is loaded with fiber and carbs. It’s a vegetarian option that doesn’t skimp on satisfaction. Add a tortilla and it becomes a burrito.
DIY Instructions:
- Cook and dry beans separately.
- Blanch and dry corn and bell pepper.
- Mix with instant rice and taco seasoning (¼ tsp per cup).
- Vacuum seal or jar with an oxygen absorber.
- At camp, pour in hot water to cover, wait 10 minutes.
Mushroom & Lentil Ragù
Earthy and savory, this pairs well with couscous or by itself as a warm soup.
This one brings rich, mushroom-forward flavor and the filling power of lentils. A great meatless night meal when you need something wholesome and grounding before crawling into your bag.
DIY Instructions:
- Sauté chopped mushrooms (dry pan or low oil), drain well.
- Cook lentils with tomato paste, garlic, and herbs.
- Dehydrate mushrooms and lentil mix separately at 135°F.
- Grind tomato leather into powder if using paste.
- Combine and portion for your trip.
- Rehydrate with 1.5x water and let simmer or steep.
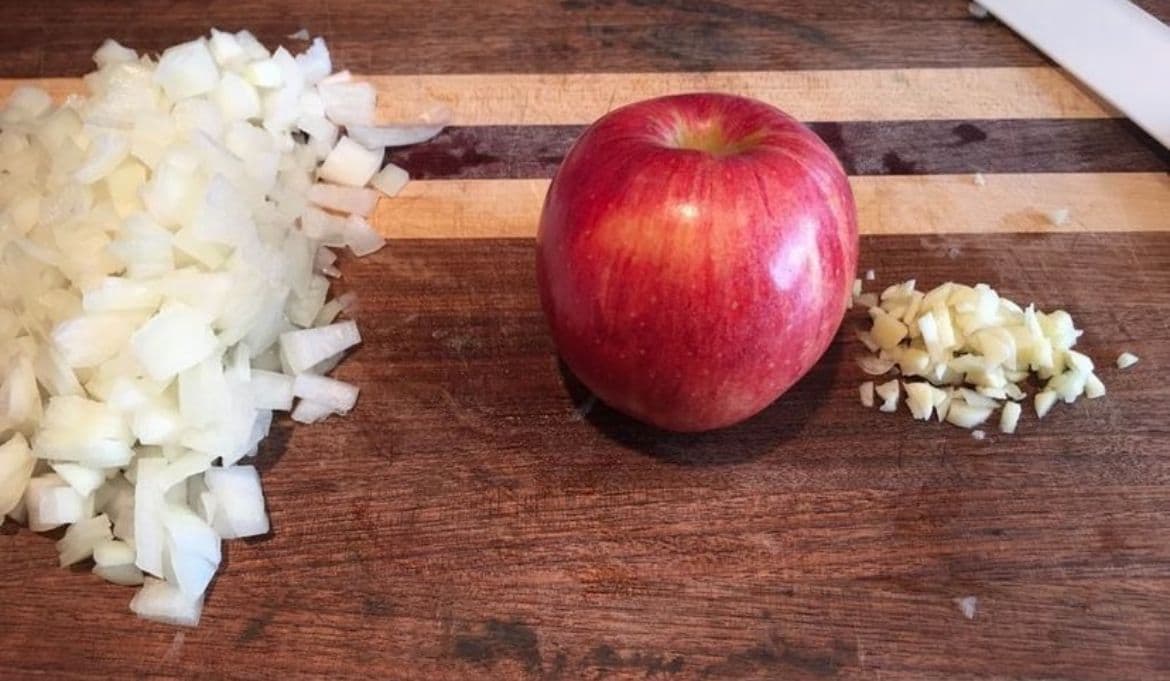
Apple-Cranberry Oat Breakfast
Warm, sweet, and satisfying—this is morning fuel that doesn’t weigh you down.
This oatmeal is a backcountry breakfast classic—sweet apples, tart cranberries, and cinnamon bring warmth to your core. It’s simple, fast, and wakes up the senses before first light.
DIY Instructions:
- Dice and dehydrate fresh apples.
- Mix with rolled oats, dried cranberries, cinnamon, and powdered milk.
- Store ½ cup oats + 2 tbsp fruit mix + 1 tbsp milk powder per serving.
- At camp, add hot water, stir, and steep 5 minutes.
Storing Your Creations
- Vacuum-seal flat—saves space in your pack.
- Fill Mylar bags to the brim, remove oxygen burst after burst, add oxygen absorber.
- Store in a cool, dark cupboard (below 70 °F).
- For camp trips, stash sealed meals in a clean plastic bin or bucket to keep critters from sniffing them out.
Shelf-Life Recap: “How Long Can Dehydrated Food Last?”
Storing Your Creations: From Kitchen to Campfire
Once you’ve spent the time slicing, simmering, and dehydrating your meals, don’t shortchange the last step: storage. This part isn’t sexy, but it’s what separates a meal that revives your bones after a 12-mile haul from one that smells like a mouse den in week three of elk season.
I’ve learned the hard way—back when I packed homemade venison chili in a zip-top bag that leaked moisture, swelled up from the altitude, and smelled like old gym socks when I opened it at 9,000 feet. Lesson burned into memory: air, moisture, and light are your enemies.
Pack It Tight, Seal It Flat
Start with vacuum-sealing your meals flat. Not only does this make them more packable, it also gets the oxygen out. That’s the first line of defense. Lay your food in thin, even layers in vacuum bags—press it flat like a field-dressed rabbit. You’ll thank yourself later when you’re jamming gear into every last inch of your pack.
If you’re doing long-term storage—say, prepping for next season or drying in bulk—use Mylar bags with oxygen absorbers. Fill them nearly to the top, press out air in bursts, drop in the absorber, and seal tight with a heat sealer or iron. Label each with the meal name and date. Future-you will be grateful when it's 3 a.m. and you're trying to load the truck without coffee.
Store Cool, Store Dark
Put those sealed meals in a cool, dry, dark place—ideally below 70°F. A pantry, basement bin, or even an unplugged cooler works. Temperature swings will degrade nutrients and flavor faster than you think, especially with meat-based meals.
On actual trips, keep everything contained in a clean, tight-lidded plastic tub or dry bag. That keeps curious rodents and raccoons from getting a noseful. One year I left a food bag inside the cab of a truck overnight. Woke up to shredded upholstery and a raccoon grinning in the rearview. Don’t do that.
Shelf-Life Recap:
- Vegetable, grain, and legume mixes: 1–2 years
- Meat-based meals: Up to 2+ years if frozen before sealing
- Best practice: Rotate stock and use within 12 months for the best taste and nutrition
Always inspect before eating. If a meal smells off, has visible moisture, or just looks suspicious—toss it out. You don’t want to learn about digestive regret from 10 miles deep in the mountains.
Taking the time to store your meals right is like glassing the ridge before you stalk. It’s the kind of patience that pays off later—when the wind cuts through camp, your legs are cooked, and that first spoonful reminds you why you came.
Wrap-Up
DIY dehydrated meals are about more than calories—they’re confidence when you're far from roads, responsibility to feed your body right, and the satisfaction of doing for yourself. With a few lessons and the recipes above, your kitchen becomes a provisioning center for every backcountry challenge.
Prep now, store smart, and head into the wild knowing every bite carries you closer to the things that make you feel alive—clear air, high country, and the call of the hunt.
May your packs be light, your paths rugged, and your table well lived. Pull up a stump, share a meal, and let the wilderness taste like home.